Installing a Raspberry Pi
On this page, you'll be shown how to install a project on several Raspberry Pis. First, you will see how to install Raspberry Pi OS on an SD card. Then you will see how to install dotpi-tools and your dotpi project on the SD card. This will allow you to remotely monitor your fleet of Raspberry Pis thanks to the dotpi manager.
Installing Raspberry Pi OS
First, you will flash an SD card to install the Raspberry Pi OS.
Run Raspberry Pi Imager, also called rpi-imager. If you haven't done it yet, please download the application. You can also read the documentation.
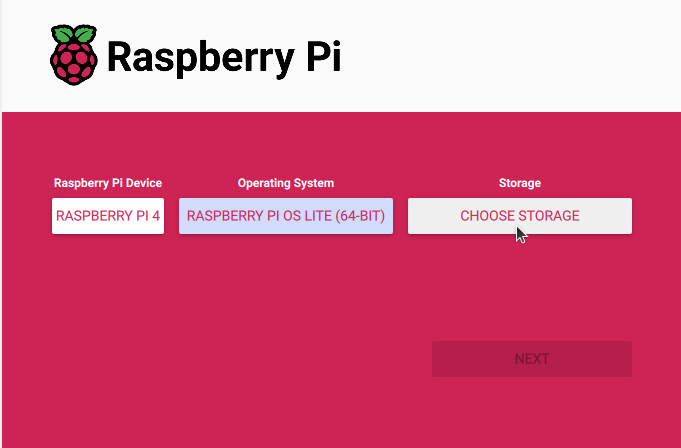
First, select your Raspberry Pi device.
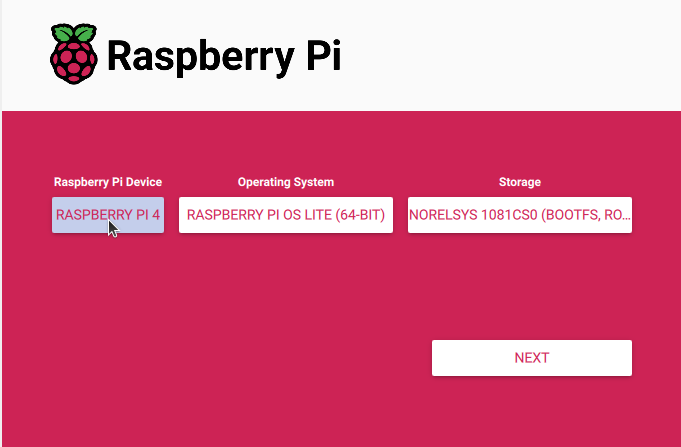
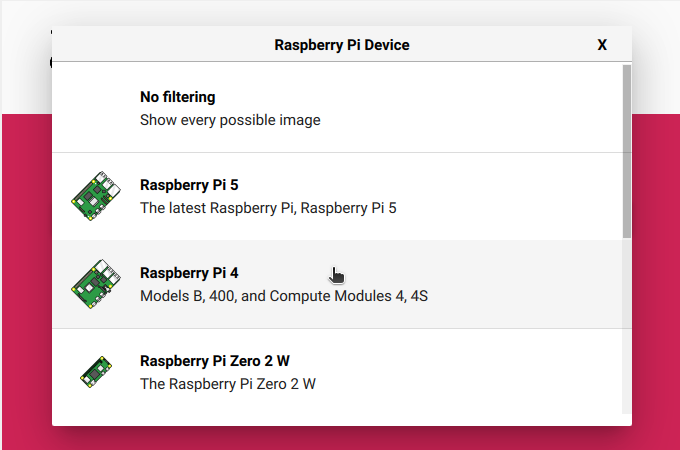
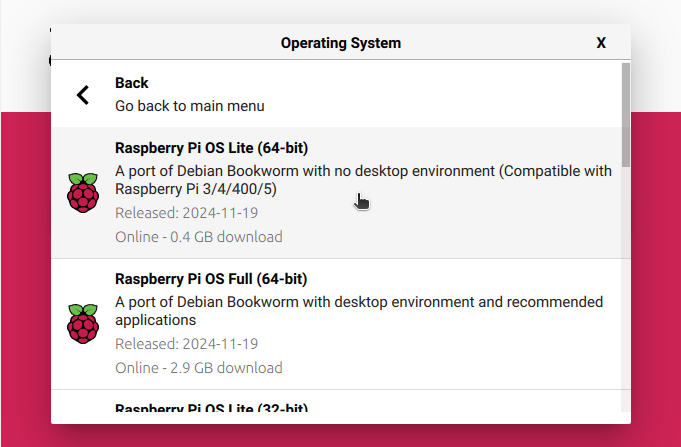
Then, select the operating system (OS). We support the current Raspberry Pi OS (Bookworm) Lite 64-bit.
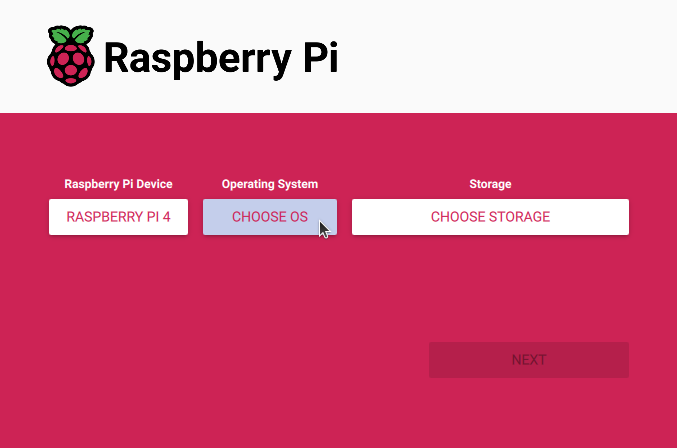
You can select the 'Lite' version to use less resources on a headless Raspberry. It is located in Raspberry Pi OS (Other).
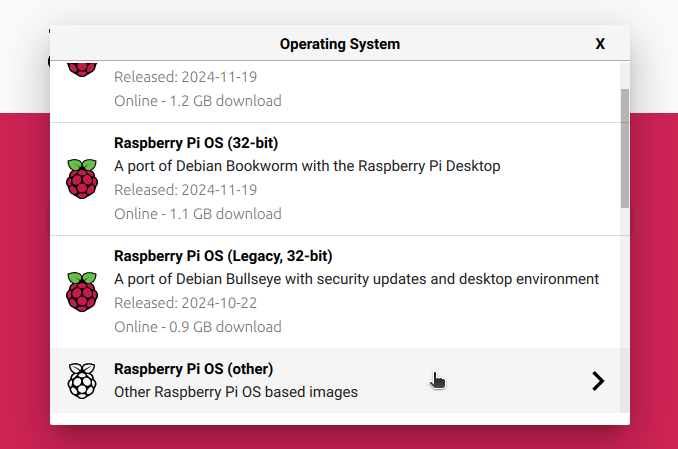
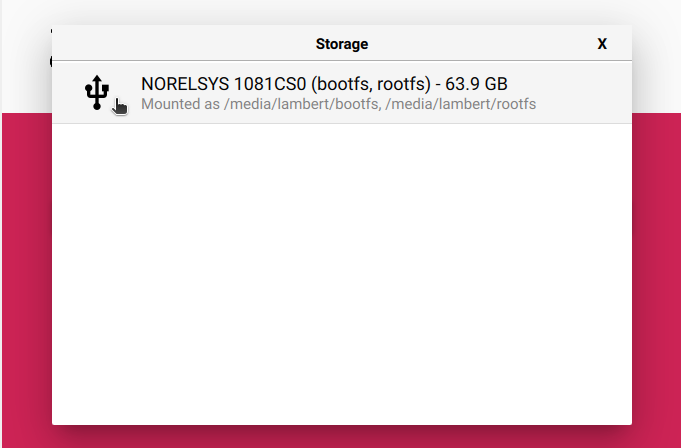
Insert an SD card in your computer, and select it.
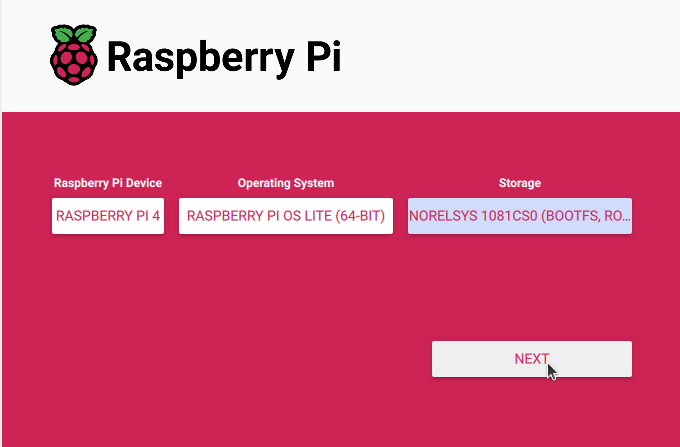
Press Next.
INFO
By default, the imager will automatically eject the SD Card when the installation terminates. This behavior can be changed in the Option tab of the imager settings.
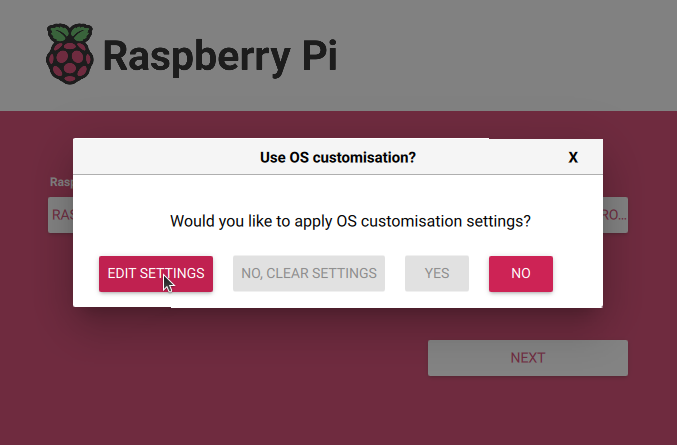
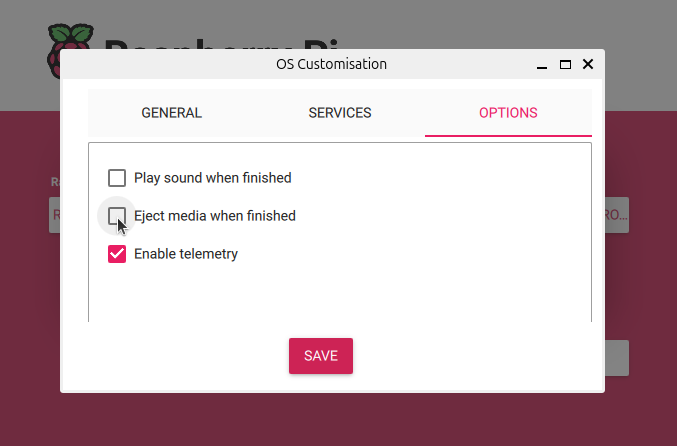
TIP
Any imager customisation is over-ridden by the project customization. For consistency, you should avoid the imager customization.
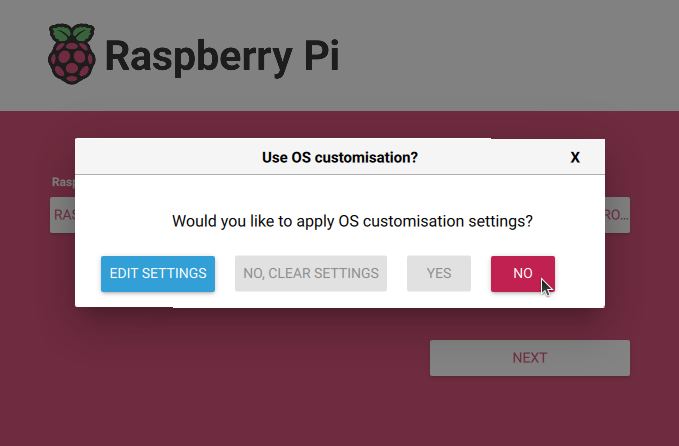
Press yes to continue.
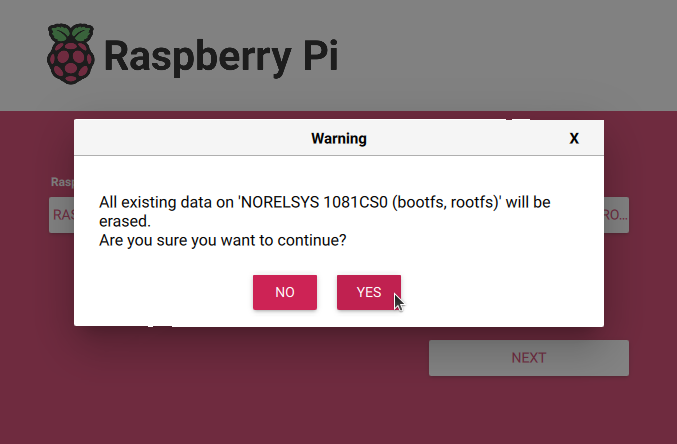
Wait until the end of the process.
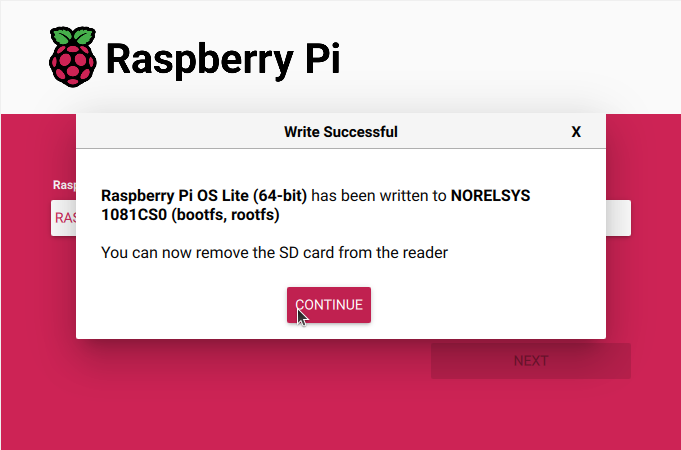
Do not remove the SD card yet. Before that, you will need to install dotpi on it. You should see a volume called bootfs mounted in your machine.
If the imager automatically ejected the SD Card after flashing, just re-plug the SD Card to apply the dotpi configuration.
Installing dotpi and project
This step will copy the dotpi installer with your project customizations to the SD card.
Go to the directory of the dotpi projects and write the following command:
cd ~/Documents/dotpi-projects/
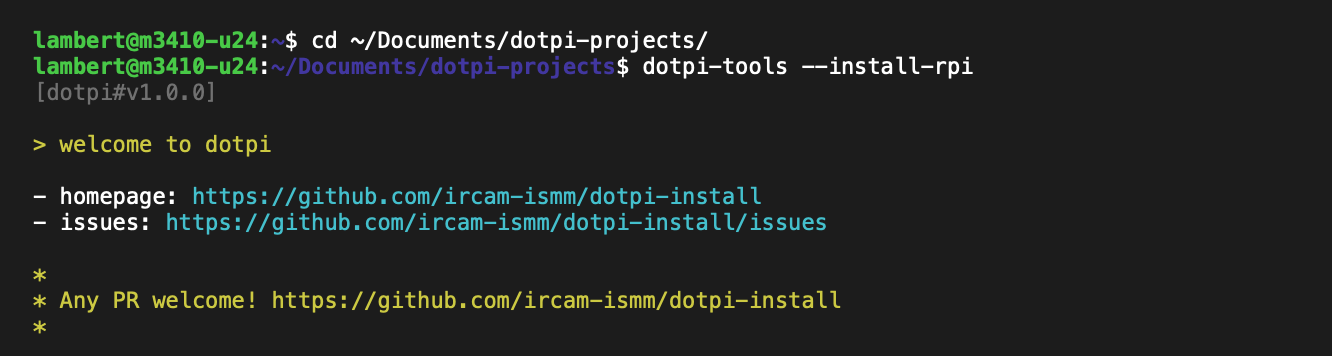
dotpi-tools --install-rpi
Your terminal should look as the following:
Select the project you want to install and press Enter. Then, follow the wizard.
Press Enter to accept a default option, or type a new value and validate with Enter.

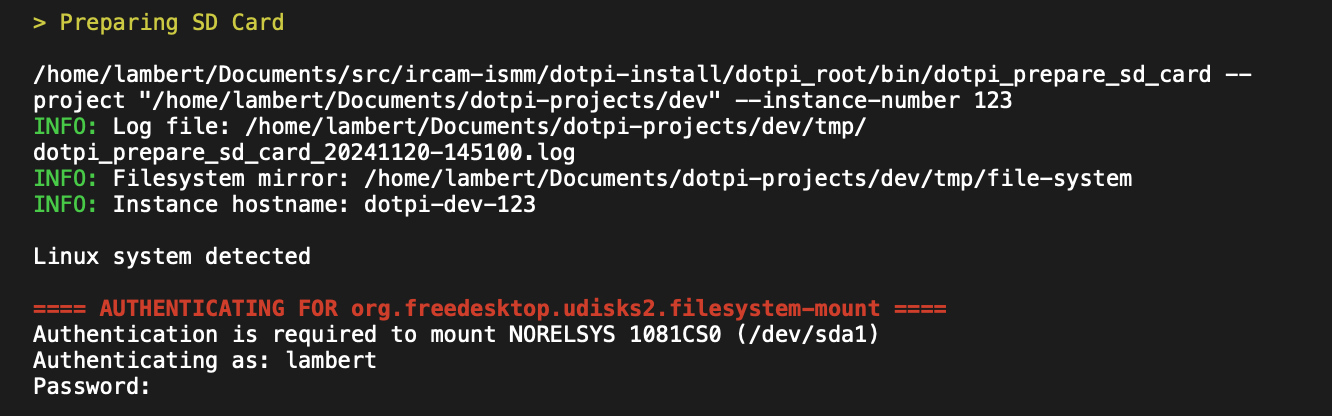
Depending on your system, you may need to enter a password to access the SD card.
INFO
If there is an error related to the SD card, unplug it and plug it back to your machine. Then, start again the installation.
cd ~/Documents/dotpi-projects/
dotpi-tools --install-rpi
The installation will continue.
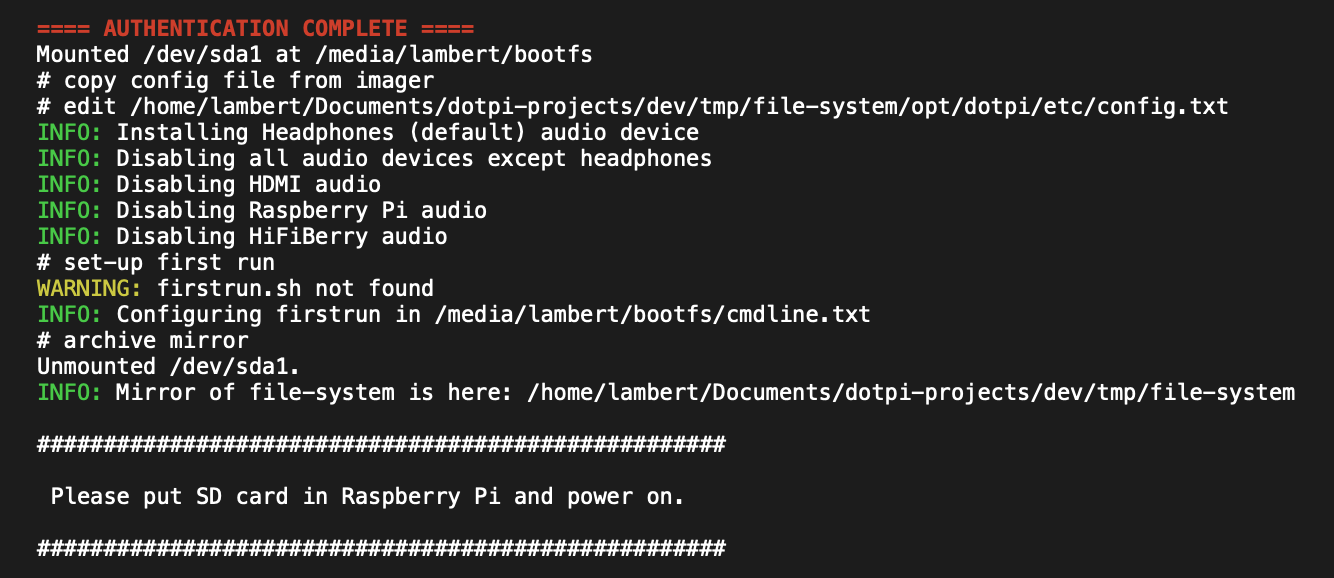
At the end, you need to eject the SD card from your machine. Insert it in a Raspberry Pi and turn it on.
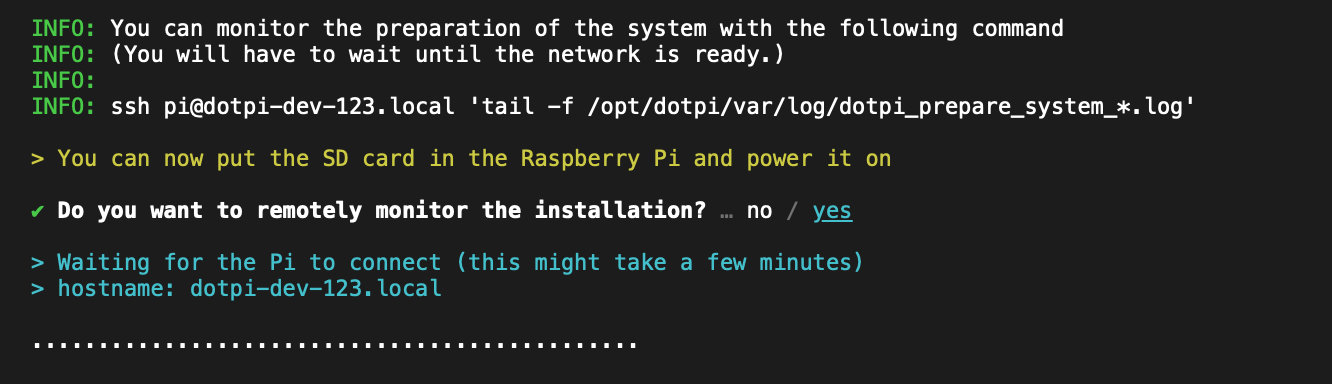
After the network is enabled on the Raspberry Pi (wired or wifi), you can monitor the distant installation of the Raspberry Pi.
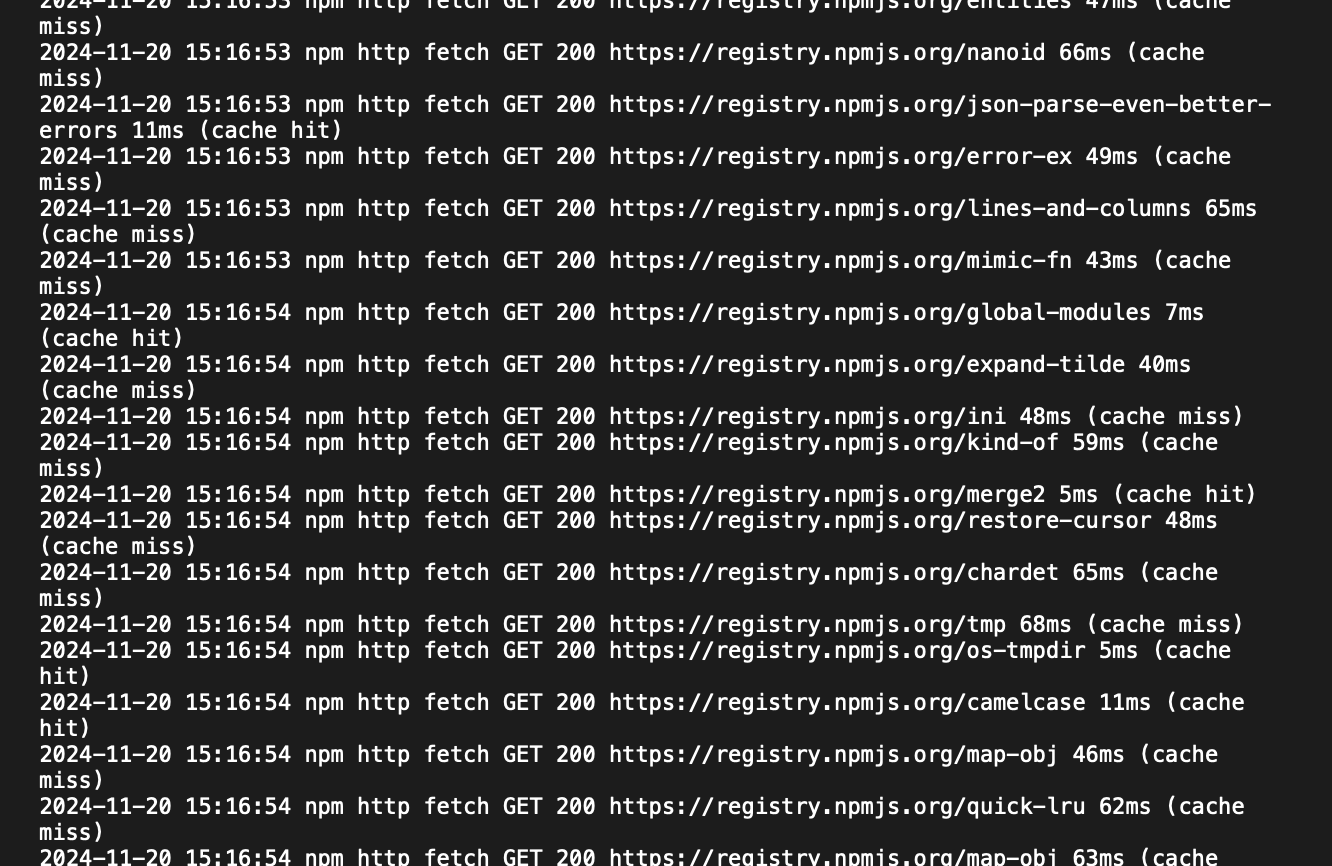
After a while, the system of the Raspberry Pi is prepared.
2024-11-20 15:17:51 INFO: System prepared.The system reboots, this closes the connection.
2024-11-20 15:17:51 INFO: Rebooting...
Connection to dotpi-dev-123.local closed by remote host.
After the reboot, the Raspberry Pi is ready. It will connect to the WiFi, and to the dotpi-manager.