Getting started
In this first guide we will see how to use the dotpi-install tools to setup a Raspberry Pi, and how to monitor and control it remotely using the dotpi-manager
Cloning the dotpi_install tools
git clone https://github.com/ircam-ismm/dotpi-installCreating a project
The repository comes with a set of dotpi project configuration examples that you can see in projects directory. In this guide, we will use the example_development project as a starter for creating a new project. So let's first copy this directory before exploring the project structure and make some modifications:
cd path/to/dotpi-install
cp -R projects/example-development projects/getting-started
If you open the project in your favorite editor, you should see the following directory structure:
getting-started
├── configuration
│   └── dotpi_project.bash
└── secrets
    ├── network
    │   └── components
    ├── ssh
    │   ├── id_rsa_dotpi_example
    │   └── id_rsa_dotpi_example.pub
    └── dotpi_project.bash
The directory name should be quite self-explanatory, but, just in case, you should be careful to never share publicly (e.g. on github) the files located into the secrets directory.
Project public configuration
Let's first open the getting-started/configuration/dotpi_project.bash file to change some of the project global setting:
dotpi_project_name='example'
dotpi_project_name='getting-started'

dotpi_ssh_allow_password_authentication='yes'

dotpi_timezone='Europe/Paris'
dotpi_keymap='fr'

dotpi_audio_device='HiFiBerry DAC+ ADC Pro'
dotpi_audio_device='headphone'

# use node.js specific version
# default is lts
dotpi_node_version='lts'- The
dotpi_project_namewill mainly define the hostname format of the RPis configured with the project, e.g.dotpi-getting-started-001 - The
dotpi_audio_devicewill configure the audio output of your RPi, setting toheadphoneswill disable the HDMI audio output to keep only the default mini jack of the RPi.
Now that some general information about our project are defined, let's configure some secrets of the project.
Change the password
First let's change the password of the RPi. Open the getting-started/secrets/dotpi-secrets.bash bash file and change the password to anything that suits you:
#!/bin/bash
dotpi_password='!raspberry'
dotpi_password='yoursuperpasssword'
Setting the password is mandatory, the installation will fail if this is not done
INFO
Note that in this first guide, we don't configure nor use any SSH keys. In very simple settings that could be OK, but it is likely that you will soon find such functionality convenient. See @todo for further information on that point.
Wi-Fi configuration
Finally, let's configure the WiFi connection, so that:
- You will be able to access the RPi through SSH or something
- The RPi will be able to connect to the Internet to install itself in the next step
Open the getting-started/network/wifi-local.nmconnection file and change the following lines to put the information from you WiFi connection:
[connection]
id=wifi-internet
type=wifi
interface-name=wlan0
autoconnect=false
autoconnect-priority=-10

[wifi]
mode=infrastructure
ssid=YourBoxSSID

[wifi-security]
key-mgmt=wpa-psk
psk=ThePassword

[ipv4]
method=auto

[ipv6]
addr-gen-mode=default
method=link-local

[proxy]
Now that we have configured all the most important points, let's prepare our SD Card.
Preparing the SD Card
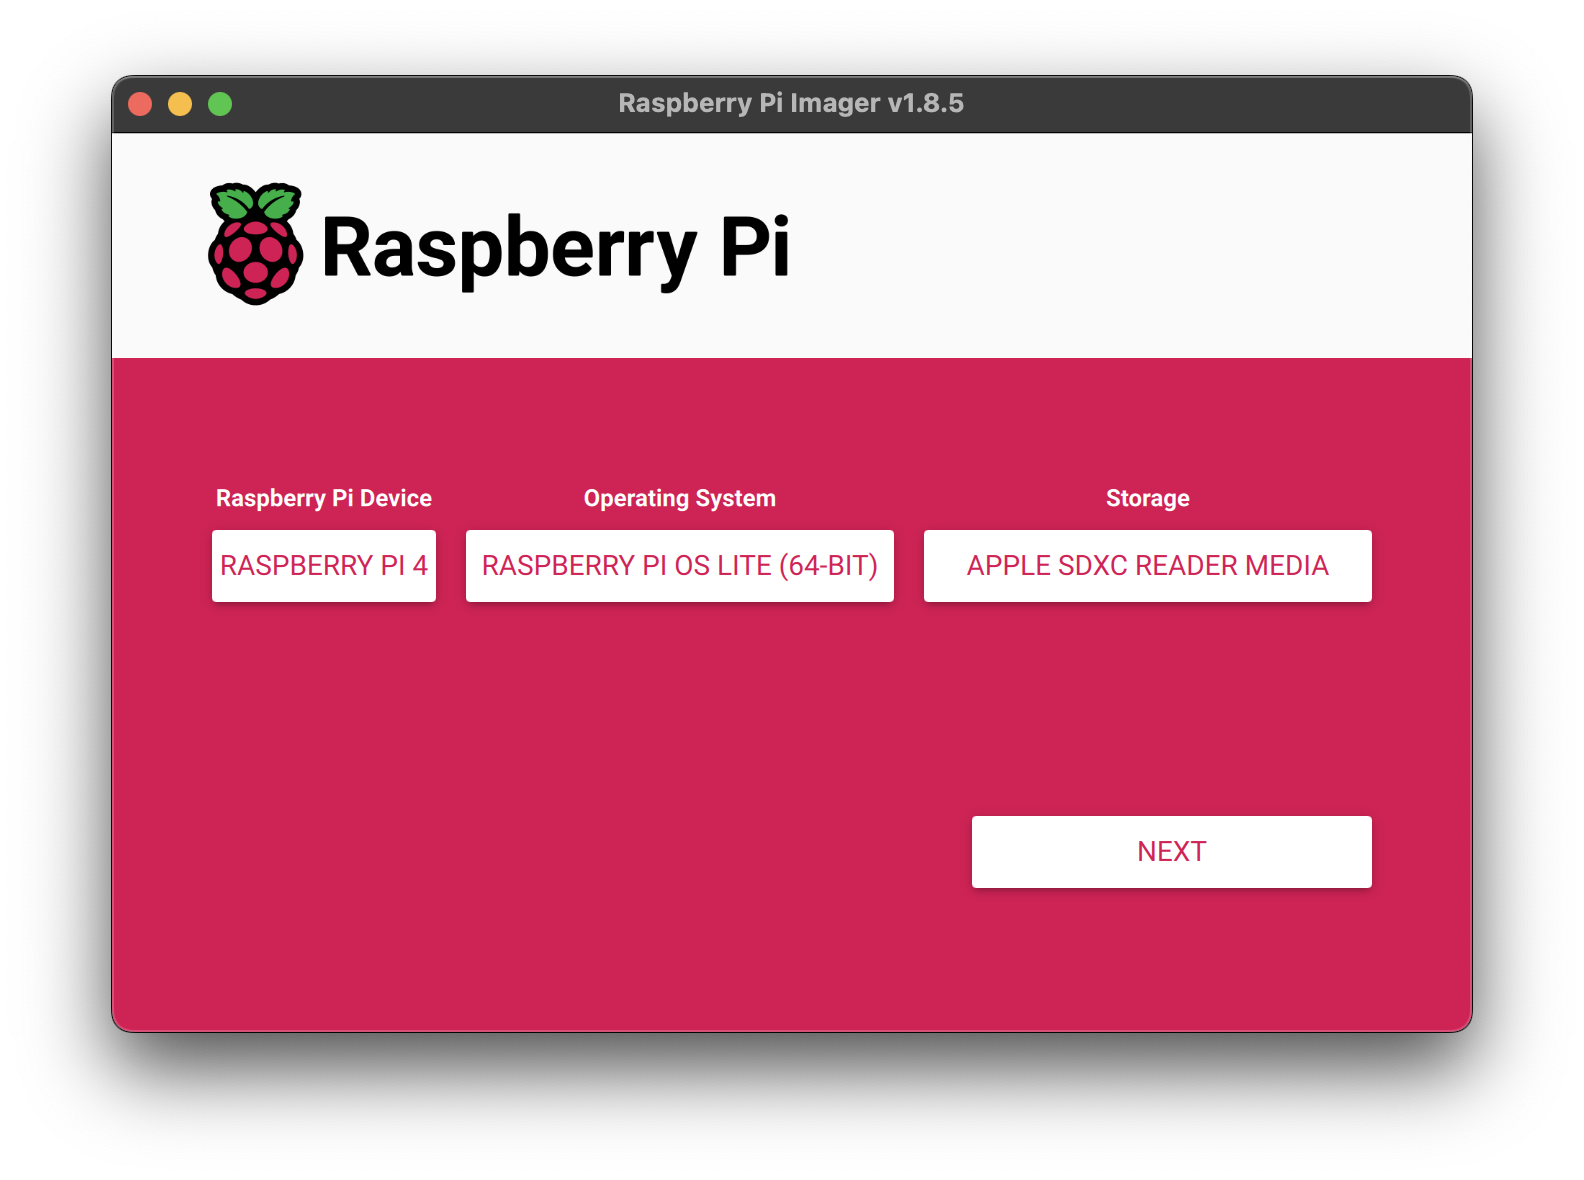
To prepare the system image, we will simply use the Raspberry Pi Imager provided by the Raspberry Pi foundation.
- Insert a SD Card into your computer
- Launch the Raspberry Pi Imager
- Select the Raspberry Pi target
- Select the operating system, e.g. Raspberry Pi OS Lite 64bit for RPi 4 or 32bit for RPi 3
You can now click on the "NEXT" button
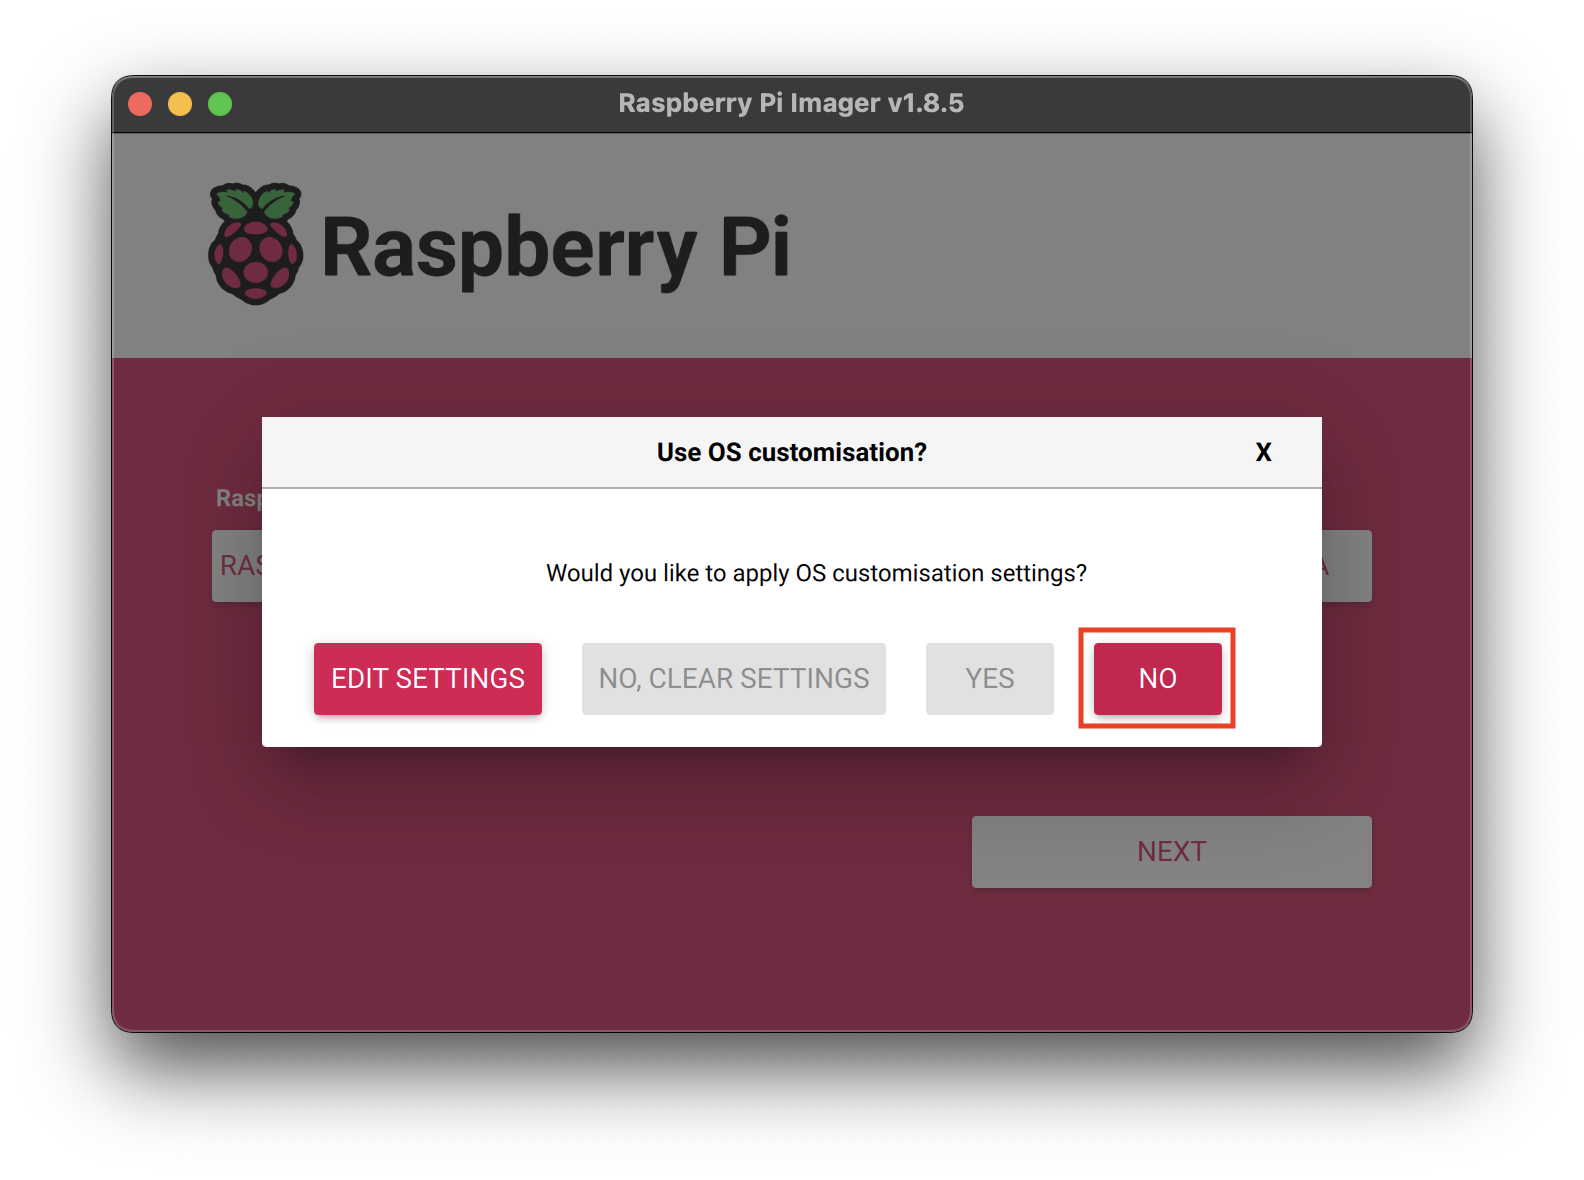
 On the next screen, select "NO" to not apply any customization setting, these settings will be applied from your project configuration file by the dotpi install
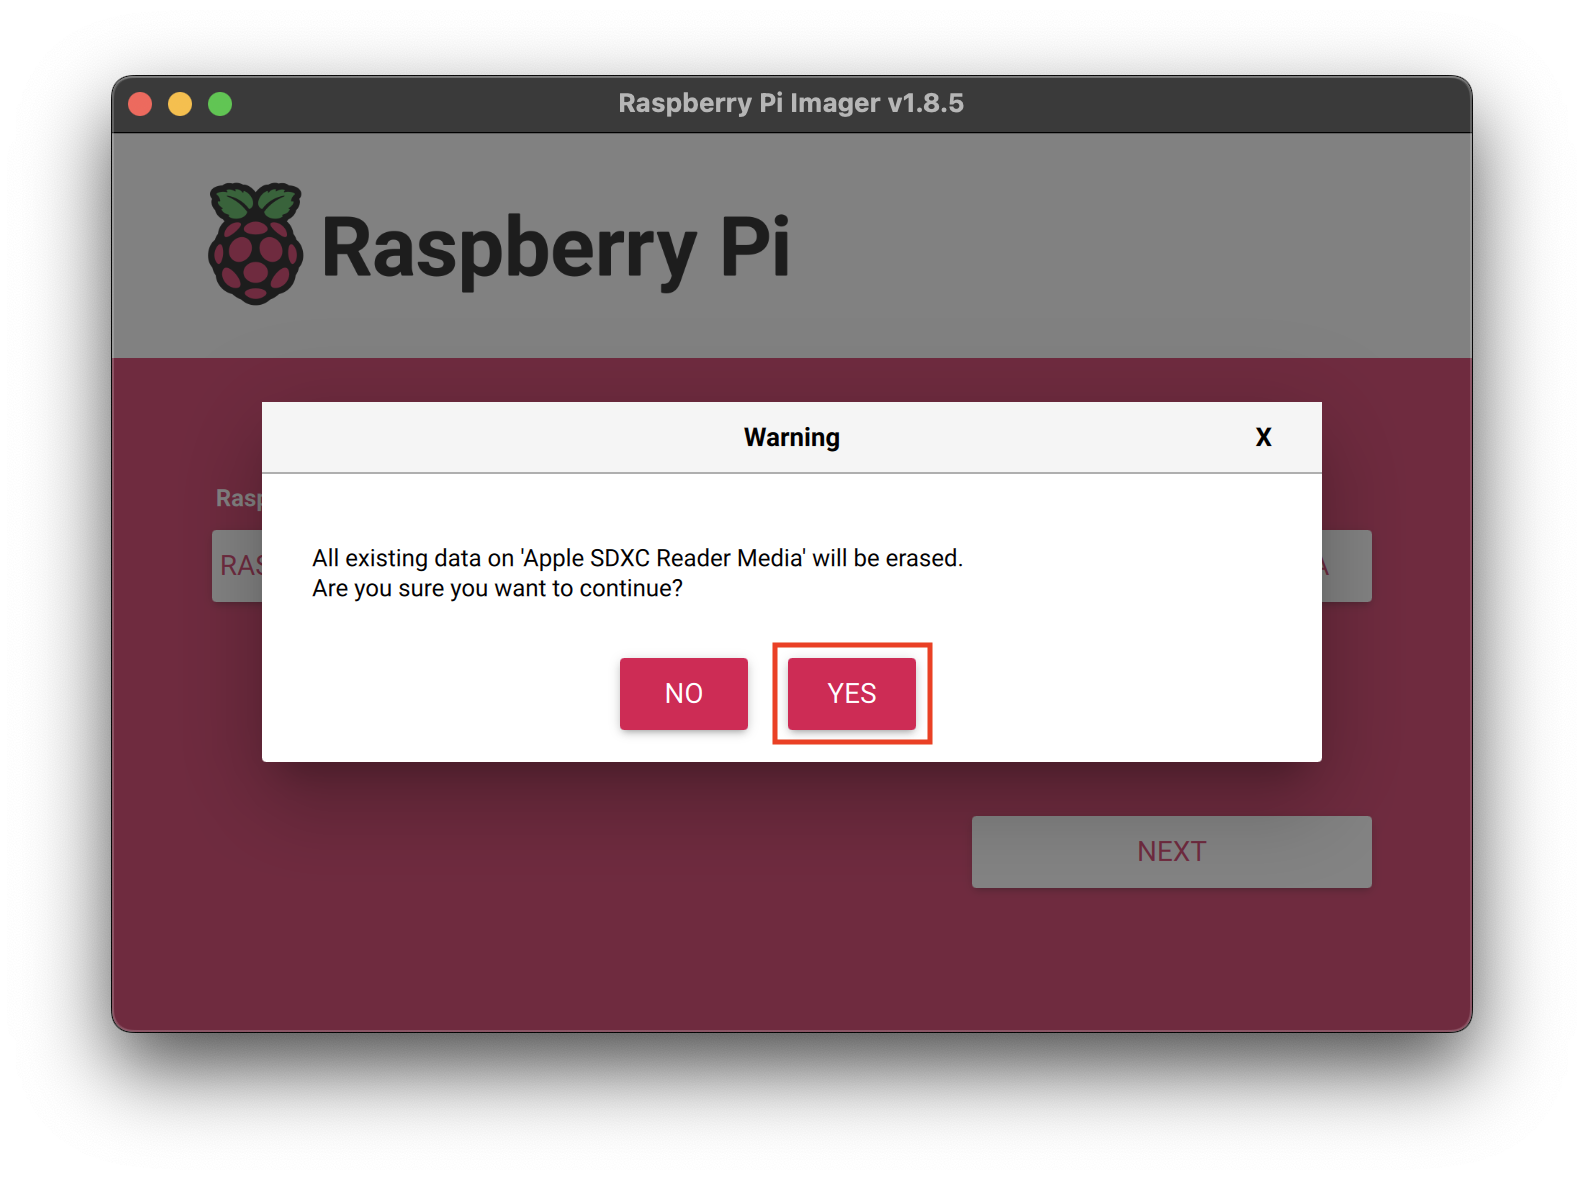
 Finally, click on "YES" to start the installation of the system on the SD Card
 By default, the Imager will automatically eject the SD Card when the installation terminates. So let's just re-plug the SC Card so that we can apply the dotpi configuration on the SD Card.
INFO
Note that this behavior can be changed in the "Option" panel of the Raspberry Pi Imager settings
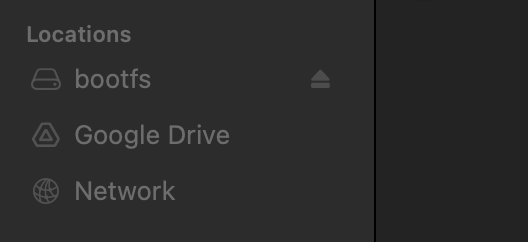
Once re-plugged into your computer, you should see a volume called bootfs mounted in the "Finder"
Let then go back into your "Terminal" and launch the following command to finalize the preparation of the SD Card with your dotpi project configuration:
# go into the dotpi-install directory
cd path/to/dotpi-install
# launch the command that will finalize the preparation of your SD Card
# giving the path to the project configuration
./dotpi_root/bin/dotpi_prepare_sd_card --project projects/getting-started/
The tool will ask you for an instance number, just put "1" for example.

As you can see this number will be used to define the hostname of your RPi, which will stand to be really useful when you will have multiple of them running.
Booting the Raspberry Pi
Now that the SD Card is fully prepared, you can just plug it in your Raspberry Pi and power it on.
If you'd like to monitor the installation of the system, you can just run the command that the tool proposed you on the last line:
INFO: You can monitor the preparation of the system with the following command
INFO: (You will have to wait until the network is ready.)
INFO:
INFO: ssh pi@dotpi-getting-started-001.local 'tail -f /opt/dotpi/var/log/dotpi_prepare_system_*.log'
Once the network is ready and the ssh able to establish a connection, your system (as it's never seen this host key before) might prompt:
The authenticity of host dotpi-getting-started-001.local can not be established.
Are you sure you want to continue connecting (yes/no/[fingerprint])?
Type "yes" and enter.
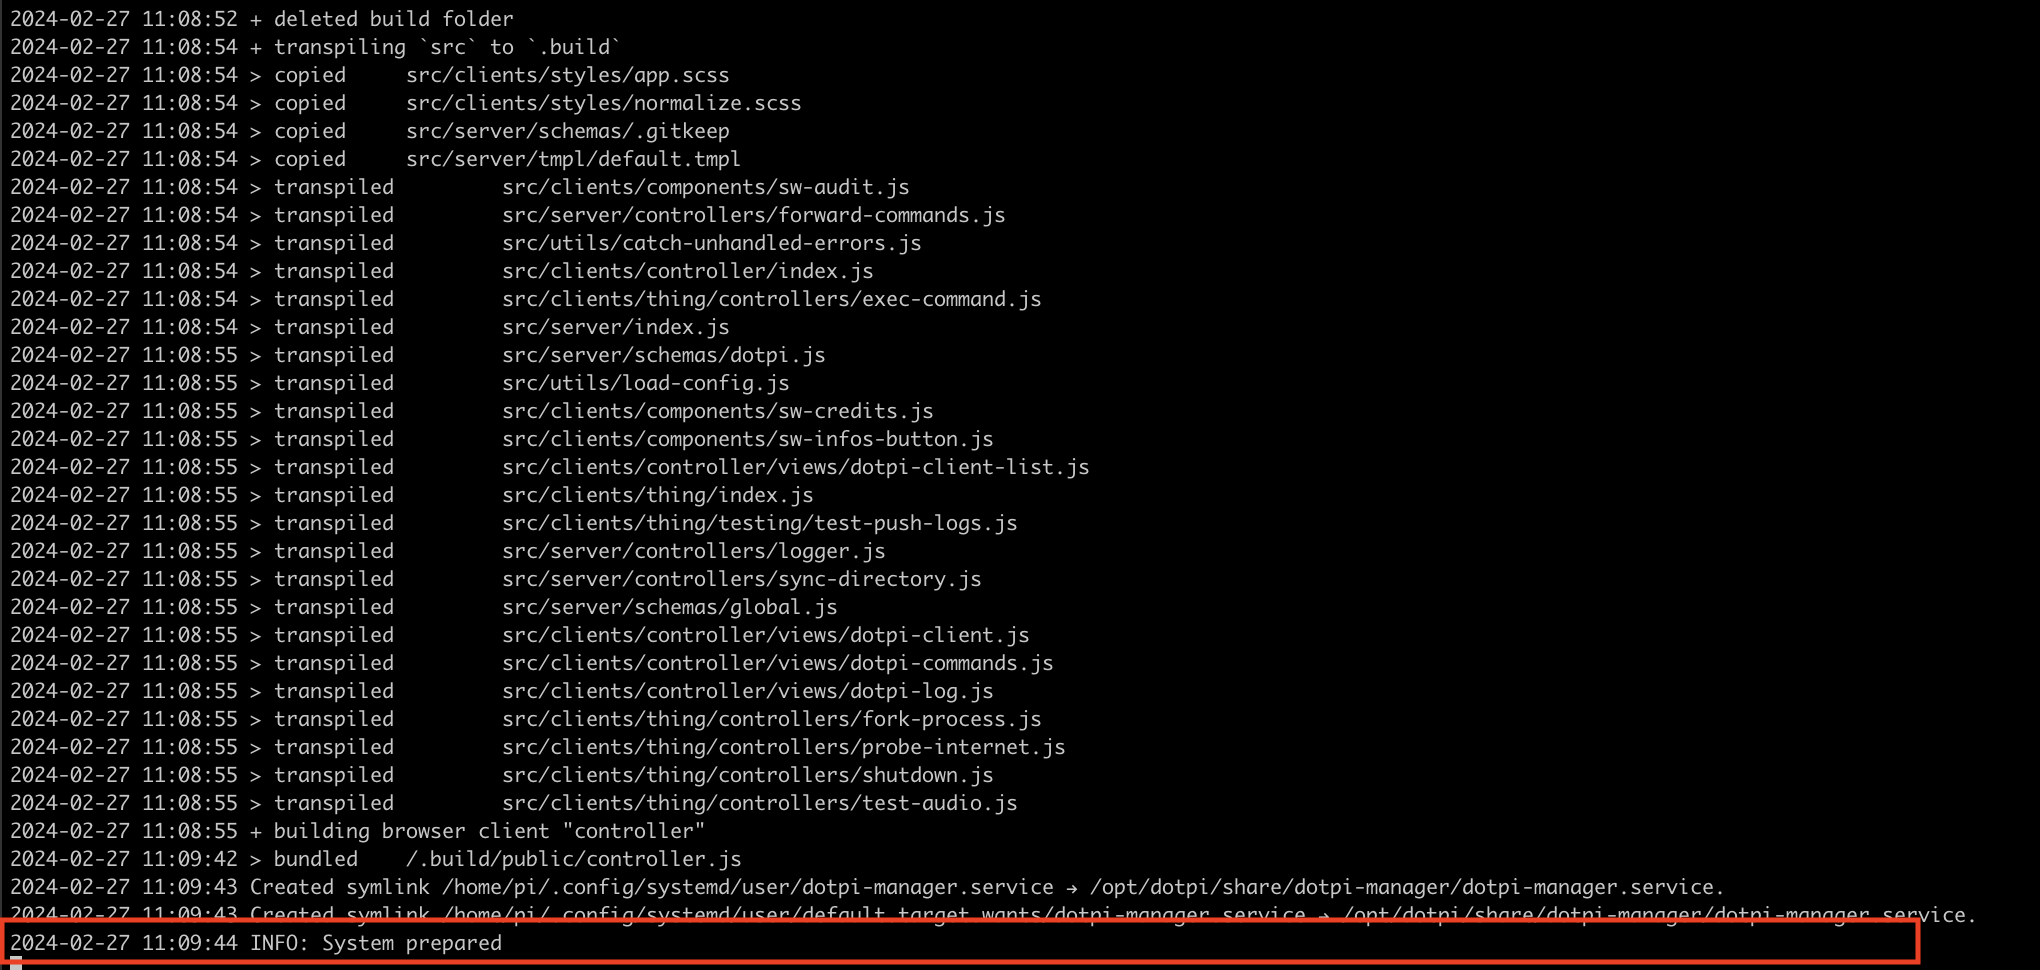
After a few minutes, you should see a log saying INFO: System prepared:
INFO
The installation process requires an internet connection to the oustide world in order to install dependencies. Make sure you have an internet connection and note that installation time depends on your bandwidth.
Your RPi is ready! Let's now install and launch the dotpi-manager
Using the dotpi-manager
The dotpi-manager is a soundworks application aimed at managing and controlling fleets of RPi. It is composed of:
- a Node.js server that should run on your computer
- a Browser client to monitor and control your fleet of devices
- a Node.js client that runs on the RPi and that is automatically installed by the dotpi-install tool.
Let's first clone the manager on your computer:
git clone https://github.com/ircam-ismm/dotpi-managerThen install the dependencies and launch the application:
cd path/to/dotpi-manager
npm install
npm run dev
TIP
Make sure your computer is on the same network as the one you configured for the RPi in the install step
Once the server is up and running, go to http://127.0.0.1:9000, and Tada! you should see your RPi in the interface:
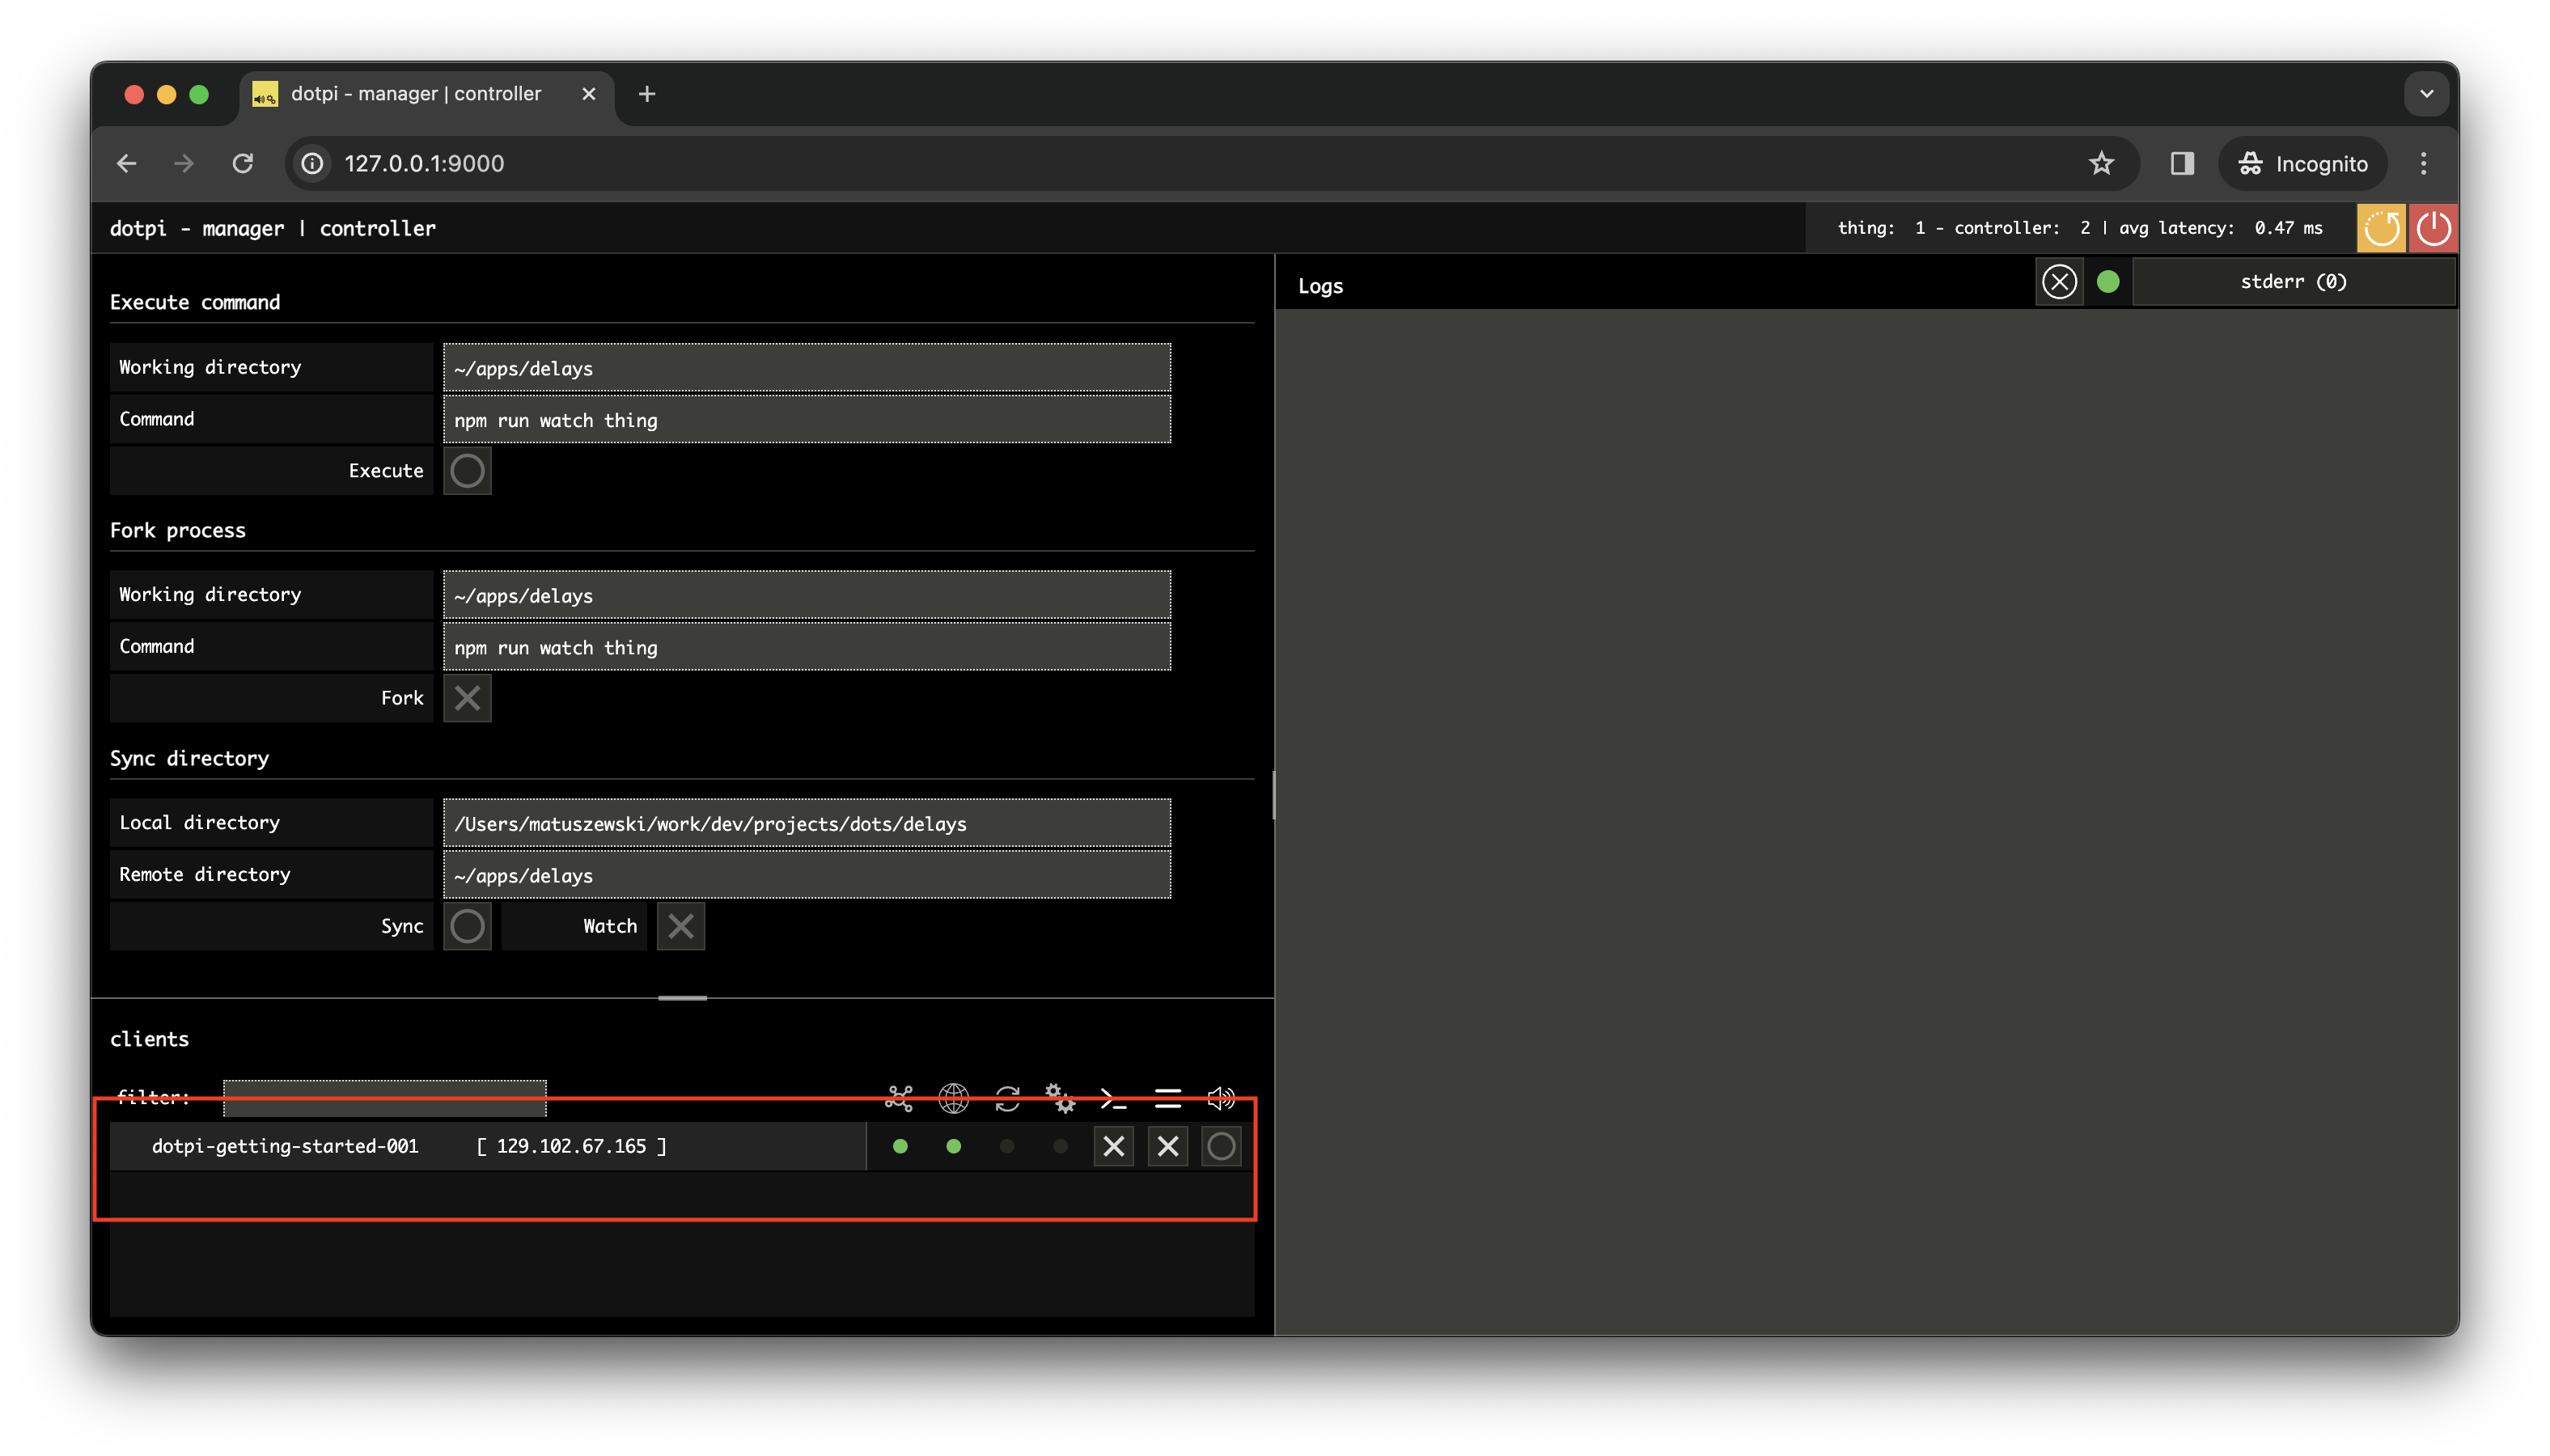
Now if you click the check-sound bang (on the right-hand side of the RPI status in your manager), you should hear a full volume short white noise coming out of the mini jack output of your RPI.
Conclusion
In this tutorial, you have learned how to simply prepare a Raspberry Pi using the dotpi-install tool and how this tool relates to the dotpi-manager application.
In a following tutorial, we will see how to generate and install SSH keys for your dotpi project, which will simplify to a great extent the way you can interact with your RPis